Growing potatoes in containers are easy to do, no matter where you live. You need to know when to plant them and what to plant them in. From there, you just water the potatoes often.
Growing potatoes at home is a great skill to have. Plus, using containers allows those living in cities to learn some farming skills.
Once you have your potato seeds, you can easily follow the directions below to grow them at home!
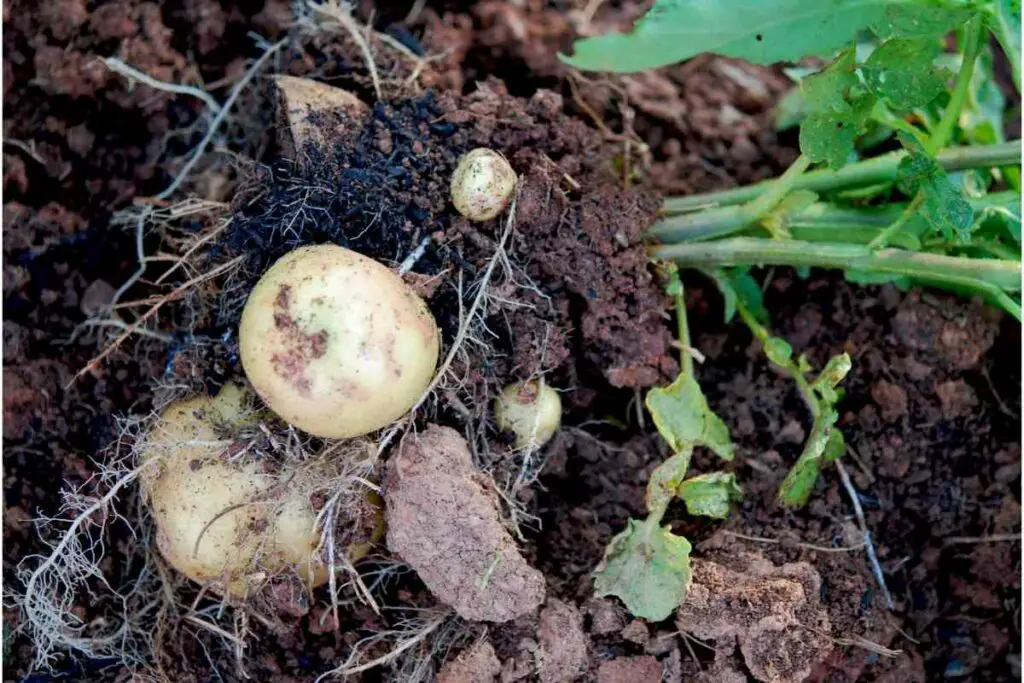
Table of Contents
How Can I Grow Potatoes in Containers?
Before growing your potatoes, you’ll need a few basic supplies. Certified seed potatoes are the best and should fully mature within 70 to 90 days.
Next, take a plastic bin and drill drainage holes in the bottom.
No matter what kind of container you use, make sure it’s very deep. You’ll have to add more soil over time since this encourages the potatoes to grow. Here are all of the steps you can follow:
1. Add Soil, Fertilizer, and Compost
First, you’ll need to prepare your soil. Choose high-quality soil that’s fast draining. Then, add a slow-release fertilizer to it. Some gardeners choose to use homemade compost instead.
You’ll need to add the fertilizer to the container every few weeks as the potatoes grow. They absorb the nutrients, so you’ll need to replenish them frequently.
Organic fertilizer or compost is best for your plants.
2. Add the Seed Potatoes
Next, you’ll need to add the seed potatoes. Place your container in the sun, with about four inches of soil.
Place your seed potatoes into the soil with their eyes facing the sun. You need to give each of them ample space!
For example, you’ll only want to place four to five seed potatoes in the container. The root grows very large, so there’s not room for many in the container.
Now you can cover the seed potatoes with a layer of your potting soil. Don’t make the soil too deep- you only need to add an inch or two.
If you live in warmer areas, add another inch to protect the potatoes.
3. Take Care of the Potatoes
You must take care of the potatoes while they grow. Your plants should receive at least six hours of sunlight every day.
Plus, you’ll need to water them often. The soil should always be dark and damp but not soaked.
It’s good to check on the potatoes every day. If the soil feels dry, you’ll want to water them until you see water running out of the drainage holes.
You may need to water the potatoes twice a day in hot climates!
4. Hill Your Growing Potatoes
You’ll also need to hill the potatoes when they’ve grown about six inches. To do this, add a few more inches around the bottom of the stems.
You should even cover the lowest leaves with soil when you do this.
As you care for the plants, make sure to hill them. They will grow very fast, so you’ll need to watch them. Every week, add another inch or two of soil to the container.
5. Harvest Your Potatoes
Finally, you’re ready to harvest the potatoes after the sprouts have flowered! Simply reach into the soil and remove the new potatoes.
You won’t want to take all of them out until the season is over. The sprouts turn yellow when done growing for the year.
At that point, it’s alright to dump out the container. Doing so makes it much easier to dig through the soil and find all of the potatoes you’ve missed!
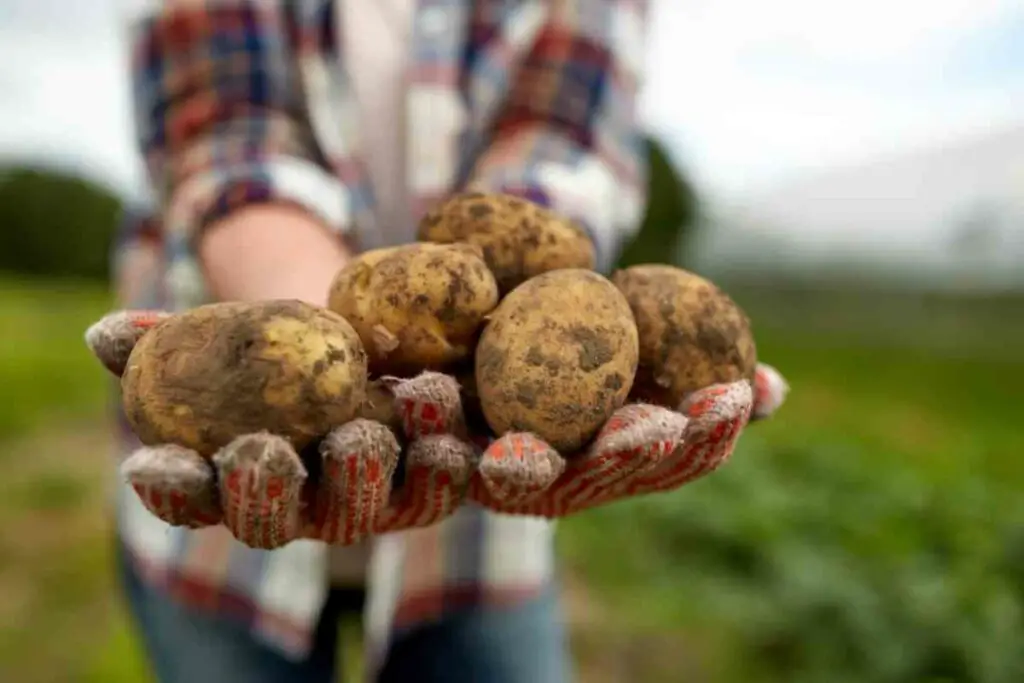
You’ll likely have an assortment of large and small potatoes; however, all of them are edible.
Many people use the small potatoes in soups and stews, so don’t throw them out!
6. Avoid Green Potatoes
Before you eat any potatoes, check them well. You don’t want to eat any that have green skins because they’re toxic and very bitter.
If you don’t want to throw out the green potatoes, remove the green skins before cooking them.
How Can I Store Fresh Potatoes?
You’ll want to store your potatoes so that they have the best shelf-life. First, remove the dirt from them and let them dry.
Many people keep them in baskets in the kitchen, where they have plenty of air to dry.
Storing potatoes in a cool dark place is best- but you should never put them in your refrigerator. They’ll spoil much faster in the prolonged cold.
Many gardeners store their potatoes in a paper bag in their pantry or cabinets. You don’t want to leave them in the sun either, but don’t store them somewhere you’ll forget about them!
How Do I Cure Potatoes?
Right after harvesting, you’ll need to cure the potatoes. Leave the potatoes to rest in temperatures between 45 and 60 degrees F for two weeks.
During this curing time, their skin hardens, and bruises on the plant heal.
If you don’t cure the potatoes, they won’t taste right. Uncured, fresh potatoes are bitter and wetter inside. Not everyone likes this taste since they’re not used to it.
Overall, uncured potatoes are very different from those you buy in the grocery store.
When Do I Plant Container Potatoes?
You can plant your potatoes in containers around the same time you’d plant them in your garden. Most people plant them in either March, April, or May, depending on where you live.
You can dig up new potatoes about three weeks after you see the starts of blooms on the plants. It takes the potatoes about four months until they’re ready to be removed from the container.
Where Can I Grow Container Potatoes?
The best part of container potatoes is that you can grow them anywhere; they don’t need much room.
Gardeners plant them on their balconies, porches, patios, backyards, stoops, and even in rooftop gardens.
Overall, anyone can benefit from starting a potato container! It’s great to practice gardening skills, have fresh food, and teach children. Even people living in dense cities can do this.
- How to Build a Planter Box for Bamboo: A Step-by-Step Guide
- Can Robotic Lawnmowers Handle Steep Slopes?
- Do You Need a Specific Lawn for a Robotic Lawnmower? Expert Advice
- Are Robotic Lawnmowers Safe for Pets and Children? Safety Features of Robotic Lawnmowers
- Why Use Robotic Lawnmowers? Advantages of Using a Robotic Lawnmower
- Is the GARDENA SILENO City 300 Cordless or Corded? A Clear Answer
