You’ll need a developed strawberry root ball to start a strawberry aerogarden.
You plant it in the seed pod, set up the aerogarden chamber, fill the water tank, add a liquid fertilizer, and care for the sprouting plant.
Aerogardens are an advanced form of growing produce.
An aerogarden uses hydroponics to create an environment that supports a plant’s natural growth.
You can use this type of gardening with strawberries for great results!
Table of Contents
How Do I Start a Strawberry Aerogarden?
You need to complete several steps for your strawberry aerogarden to grow.
We’ll go over all the basic steps here, then cover them in more detail below.
Here’s what you need to do:
- Obtain and prepare a strawberry root ball
- Place the root ball into the seed pod
- Set up the grow basket in the aerogarden chamber
- Fill the water tank
- Add a quality liquid fertilizer
- Pollinate the flowers when they appear
- Care for the plant
You’ll have an excellent strawberry harvest this season if you can follow all of these steps!
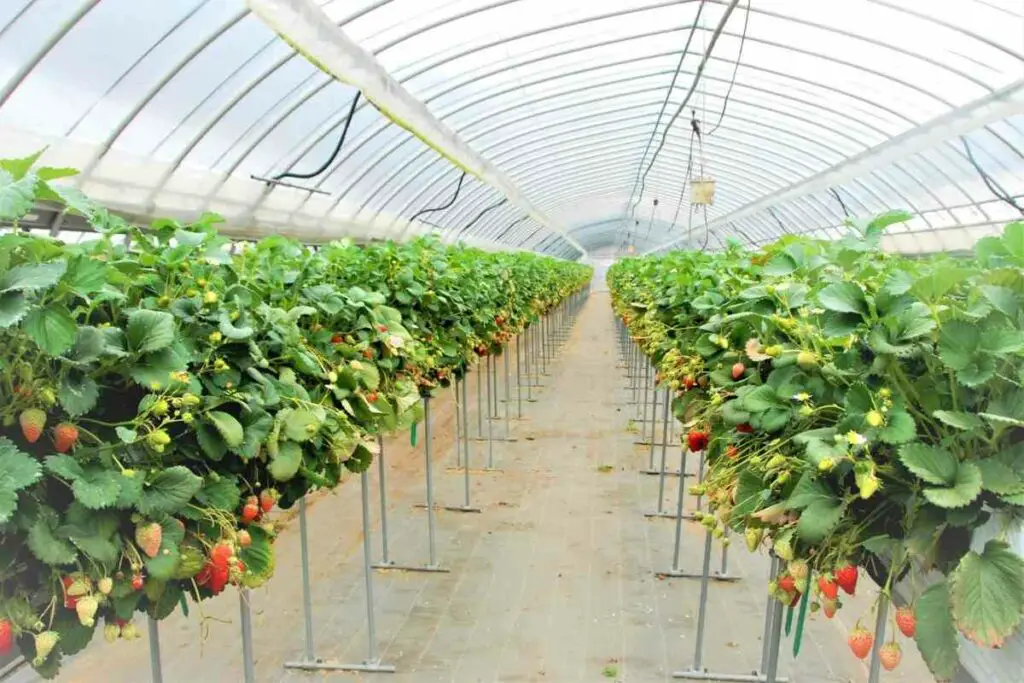
Using an aerogarden gives you the benefit of growing food anywhere- even inside without any direct sunlight.
1. Obtain and Prepare a Strawberry Root Ball
The strawberry root is a ball about the size of a golf ball.
You’ll want to trim off any extra roots that appear around the bottom of the stem.
Don’t worry- this doesn’t damage the plant! It actually can encourage the roots to grow back even stronger.
Your grow pods don’t have a lot of space. So, if you don’t trim the root ball, it might not fit very well.
Most strawberry plants come in bare-root bundles at gardening shops, so you shouldn’t have trouble finding them.
You can also remove the roots from strawberries outdoors to grow a new plant in the aerogarden.
Once you have your root ball trimmed, it’s time to move on to the next step!
2. Place the Root Ball Into the Seed Pod
Next, you want to make sure the root can fit into the seed pod well.
You’ll need to have a:
- growing sponge
- Rockwool
- or peat moss
These materials support the root as it develops.
If it doesn’t fit, take it out and trim it more! You’re not hurting the plant.
Plus, cutting the root ensures the aerogarden chamber doesn’t become clogged.
3. Set Up the Grow Basket
Now you’re ready to set up the grow basket!
Check your basket for any debris and remove any that you find.
Then, push down on the grow basket until you hear a click. This sound lets you know that it’s secure.
Overall, this step is easy- you just need to make sure that everything’s in place.
There are several different models of aerogardens out there, so make sure you’re setting the grow basket up properly for your model.
4. Fill the Water Tank
Your strawberries will need water to grow!
In the aerogarden, there should be a water tank. The best part of this system is that it’s hard to forget to water your plants.

Most models let you know when the tank requires more water.
5. Add a Quality Liquid Fertilizer
You can also add a quality liquid fertilizer to the water tank.
The plant’s roots will absorb the liquid along with the water. You’ll want to make sure they have plenty of nutrition to produce delicious strawberries!
If you don’t have liquid fertilizer, you can also use a fertilizer tablet.
First, dissolve the fertilizer tablet in a glass of water, then pour the mixture into the tank. Make sure you leave enough space to get all of it inside.
6. Pollinate the Flowers
Since the strawberries are indoors, there are no bees to pollinate them.
You’ll have to do it yourself! Otherwise, the flowers won’t produce any fruit.
Luckily, it’s straightforward to pollinate strawberry flowers on your own.
Take a cotton swab, gently brush it over the flower, and then brush it onto the other flowers. You can also use a clean makeup brush or another soft tool!
You’ll want to do this every two to three days after the flowers bloom for an even pollinating.
Make sure you take your time. Uneven pollination can lead to misshapen strawberries.
7. Care for the Strawberry Plant
The final step is to care for your strawberry plant like usual.
You might notice brown or yellow leaves appear. You can cut these away, making sure not to harm the stem or flowers on the plant.
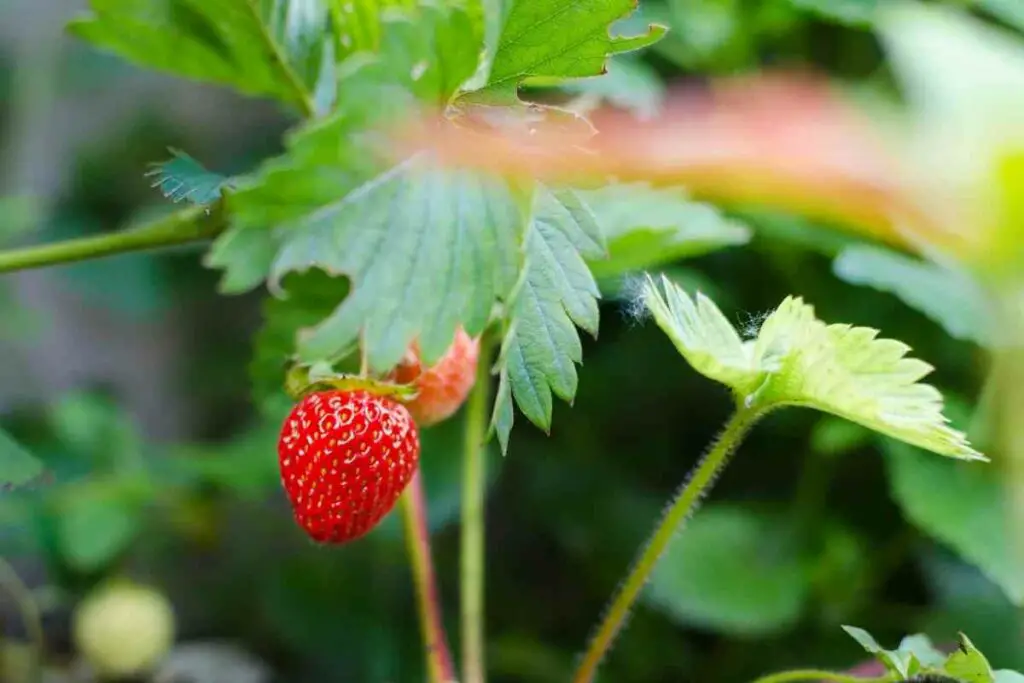
Overall, it’s effortless to care for a strawberry plant in an aerogarden. You’ll need to refill the tank when it’s low, but that’s about it!
You can add more fertilizer too when the water runs out.
For the Most Part – You’ll just need to remove the withering leaves to encourage the plant to focus on growing berries instead.
Can I Reuse Grow Pods?
Most aerogardens come with some kind of grow pod.
These pods hold the seeds and roots, allowing the plant to grow indoors.
You won’t need to throw them out if you’ve already used them! You can reuse them to grow your strawberries.
If you do this, you’ll save money. Plus, you can place peat moss inside the pod to replace growing sponges.
Your strawberries will have something to dig their roots into that way.
Overall: You can easily reuse grow pods once the previous plant has withered. You may want to transfer some plants to another pot if they return in the next season.
When Can I Harvest Aerogarden Strawberries?
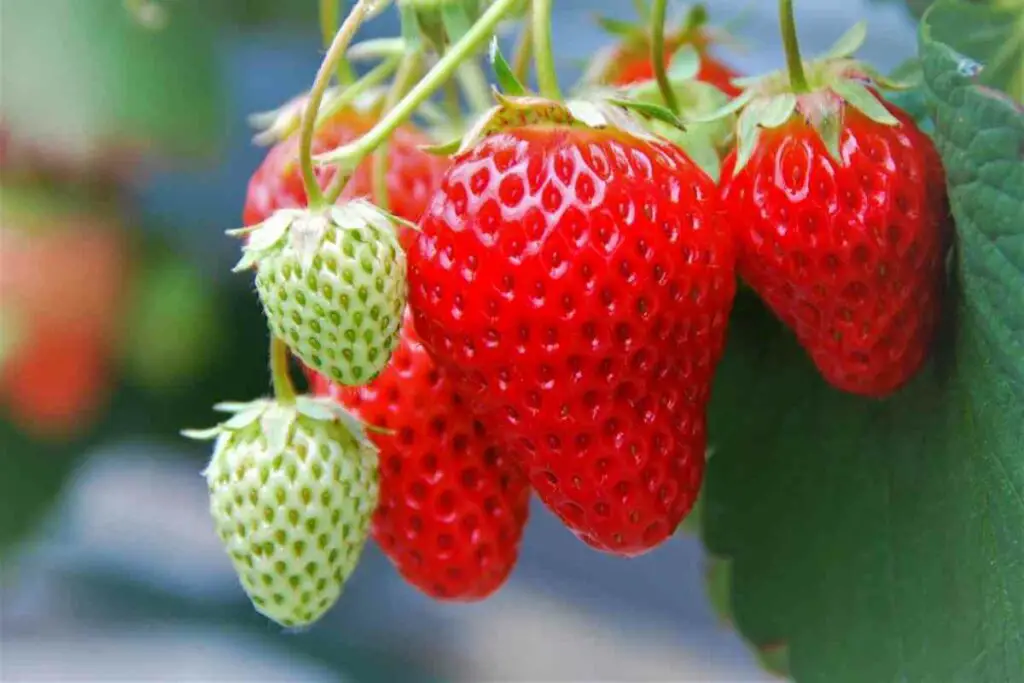
You can expect strawberries to appear about three weeks after the flowers.

Most natural strawberries are a lot smaller than the ones you get at the market- but they taste so much better!
Your strawberries will be about the size of raspberries or blueberries.
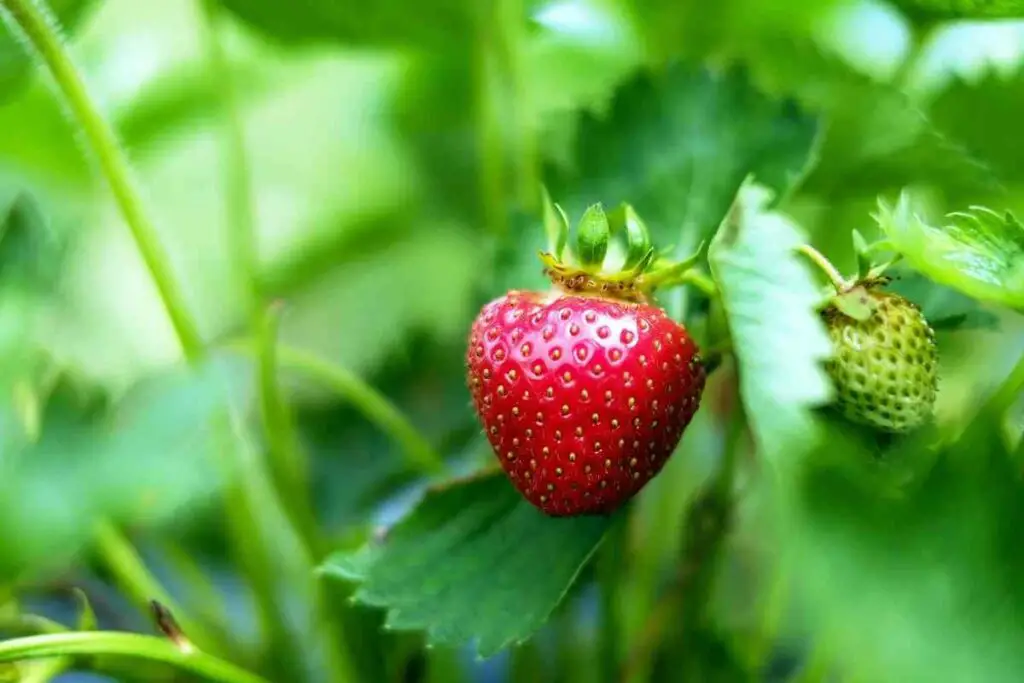
All you need to do is wait until the strawberry turns completely red. You don’t want the fruit to have any white on the end of it.
In short, you can harvest your aerogarden strawberries about three weeks after they start to flower- as long as you pollinate them properly!
Read Next
- How to Dry Basil Leaves: A Professional Guide
- Is an Avocado a Fruit or Vegetable? Simple Answer and Explanation
- Does Pineapple Have Seeds? Exploring the Anatomy of Pineapples
- Blooming Through Winter: Can I Grow Vegetables Indoors in the Winter?
- What Can You Grow in a Greenhouse All Year Round: A Guide to Year-Round Greenhouse Gardening
- Are Blueberries Blue? Debunking the Myth of Their Color

